How to make a joystick grip
June 2006
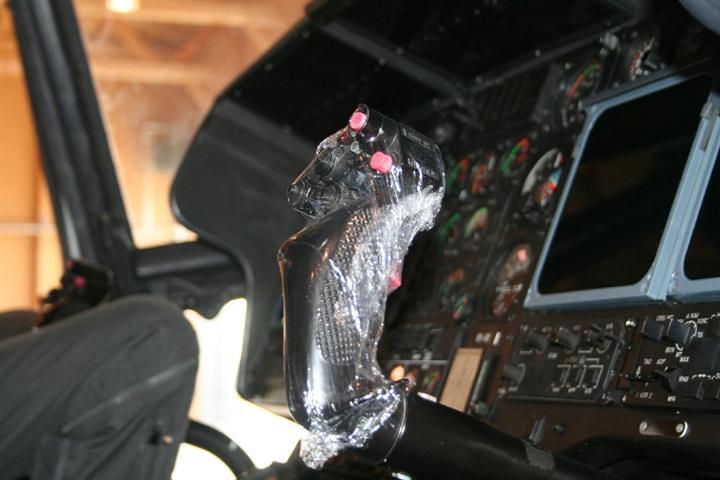
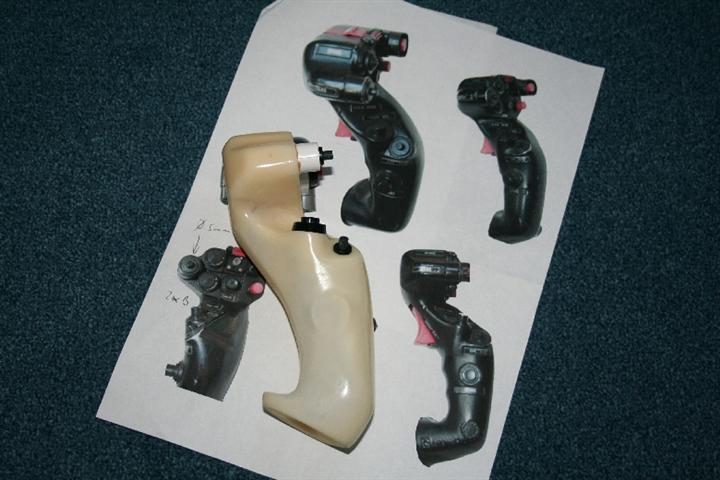
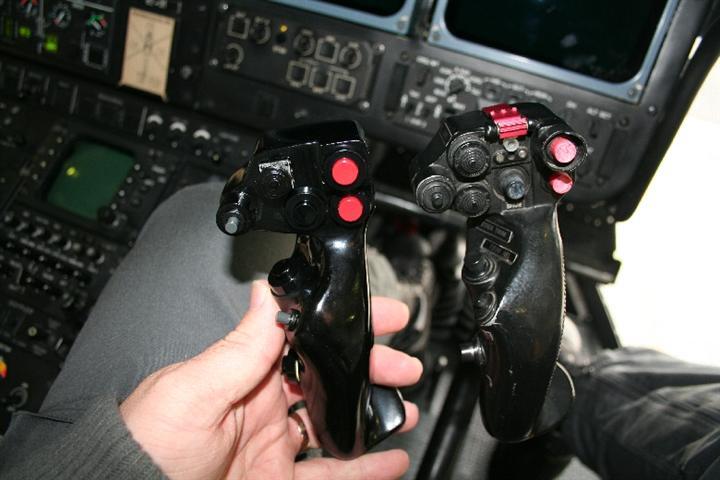
Can I make my own joystick grip based on the real one?
Can I change it with the grip of my MS Force Feedback 2?
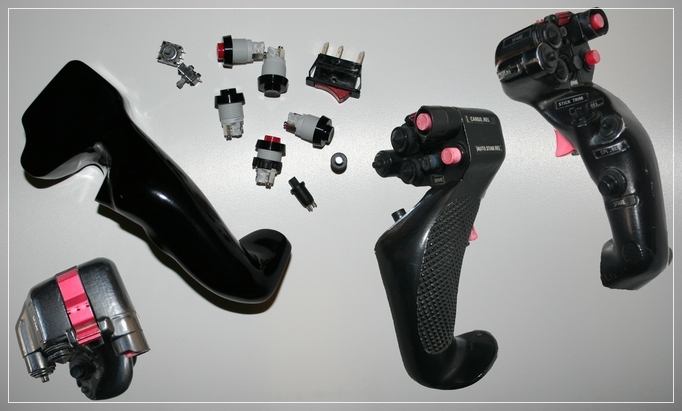
The FFB2 has eight buttons and a four way switch.
The real one has also eight buttons and two four way switches.
Well I can leave one four way switch and still have a good compromise.
Some more requirements for the project: Cheap, material easy to get, usual house tools only be needed.
2006-06-21
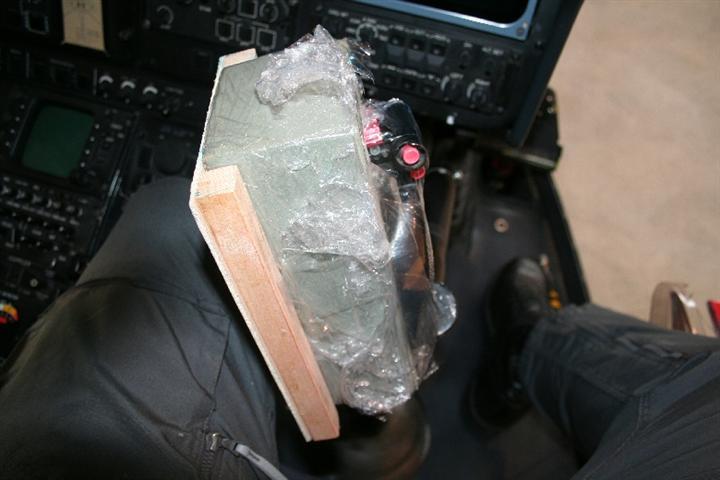
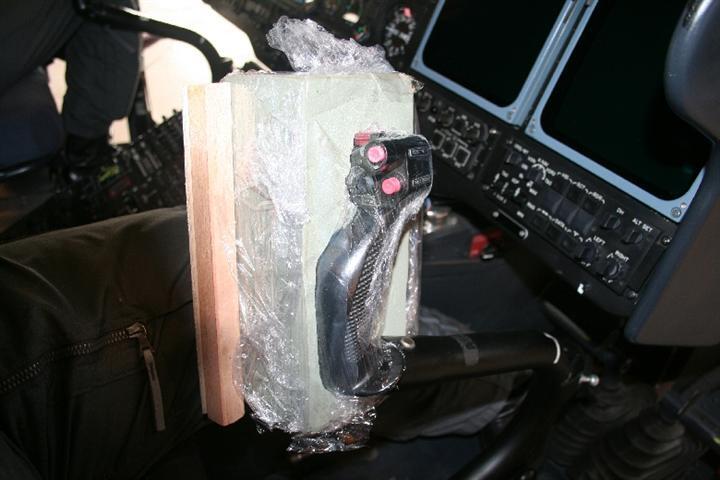
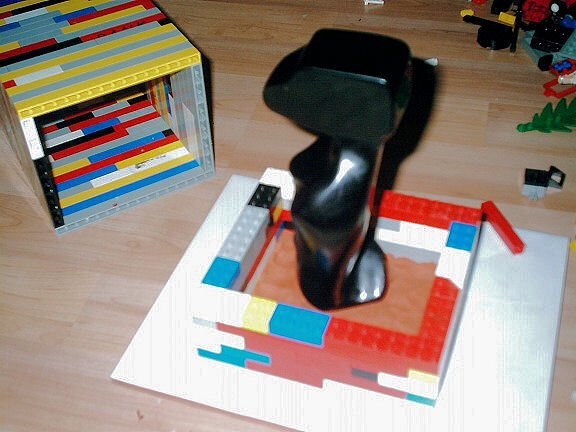
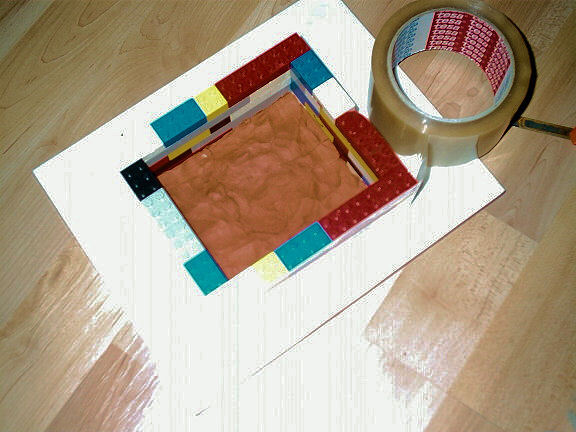
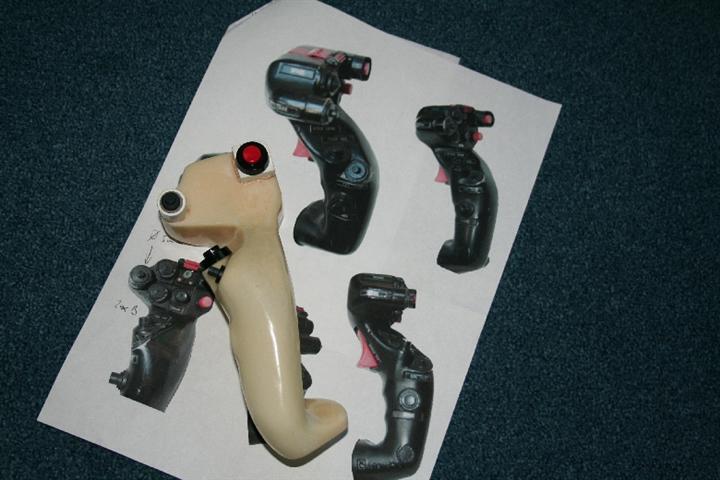
Some cling film and florist foam cube.
So I had a quick, easy and good mold based on the idea of my friend Bernd.
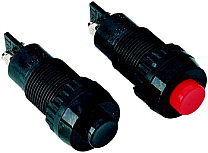
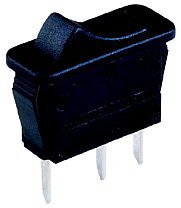
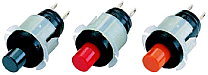
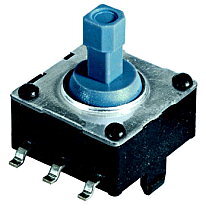
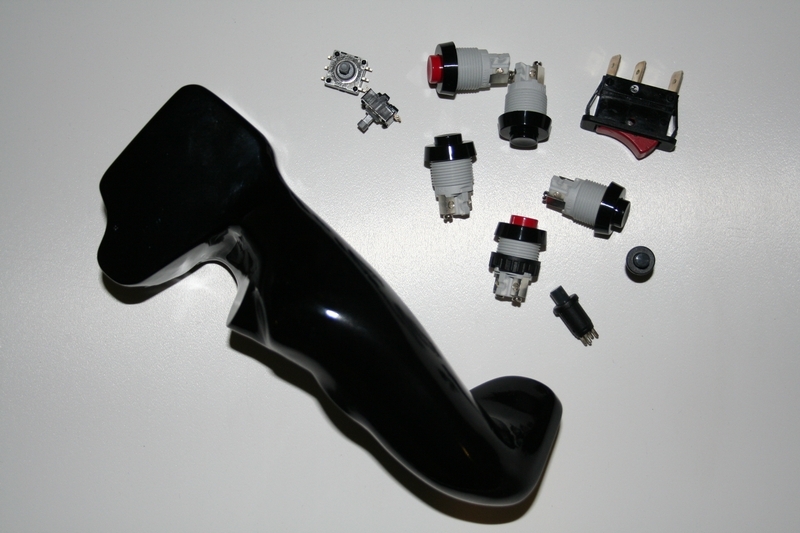
I bought all the switches at www.conrad.de. You need to find your selection at your local supplier.
2006-09-15
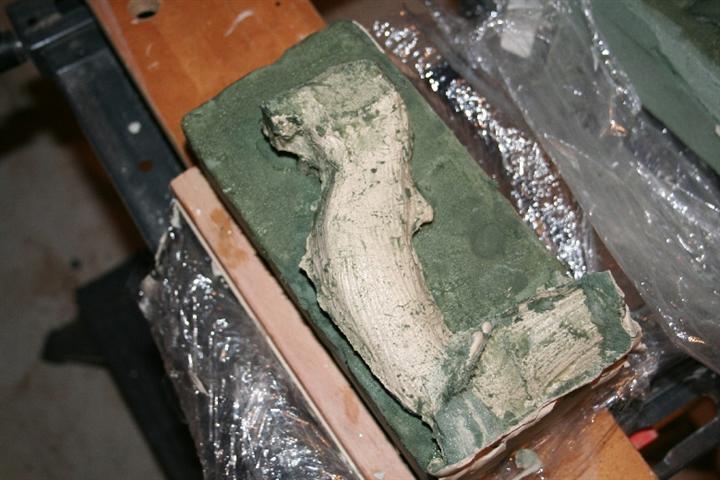
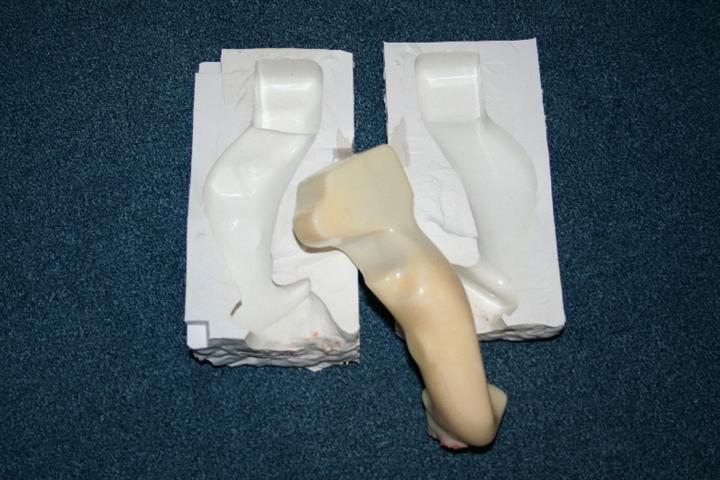
I got some help from a colleague who did the silicone rubber mold. The material used is TACOSIL 140 plus crosslinking agent 32 bought at www.thauer-dresden.de.
2006-09-21
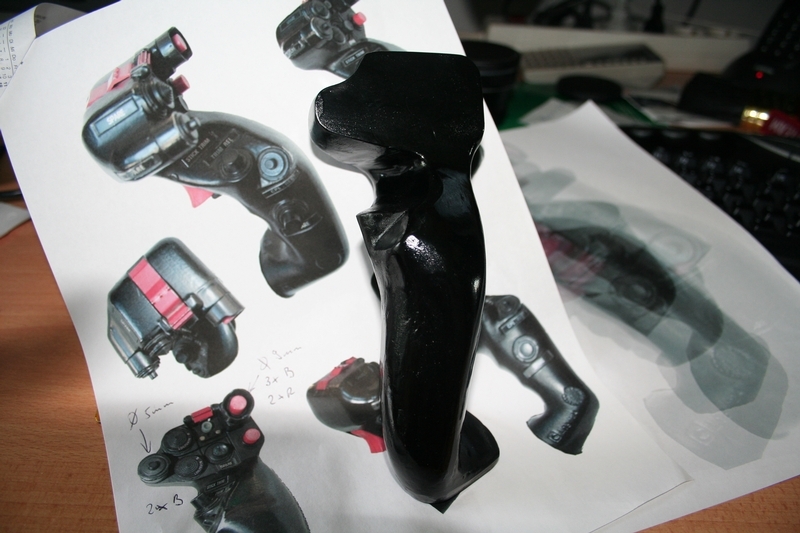
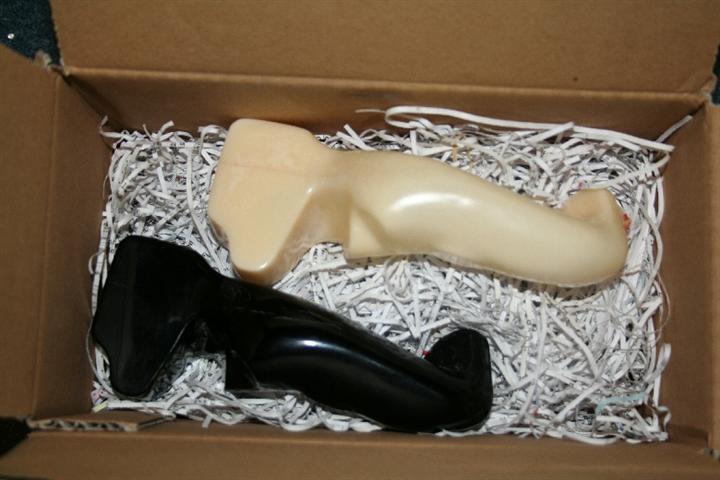
He also did the first casting, look at www.peters-figuren.de. The material for the stick cast is "Resin" bought at www.motag.de. It comes with the fitting crosslinking agent.
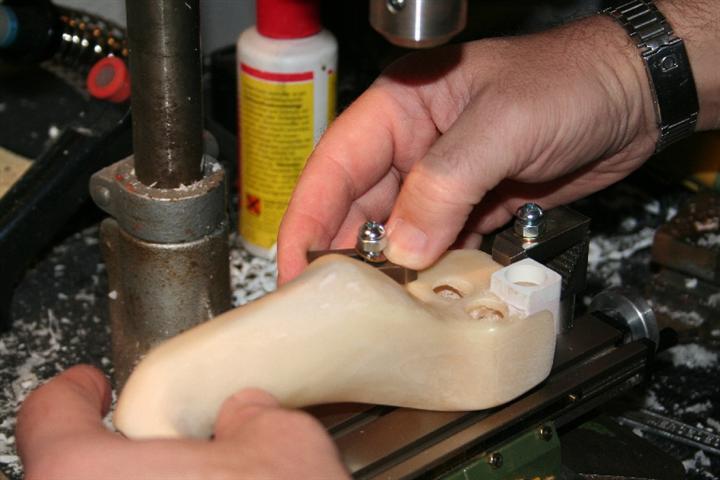
2006-10-10
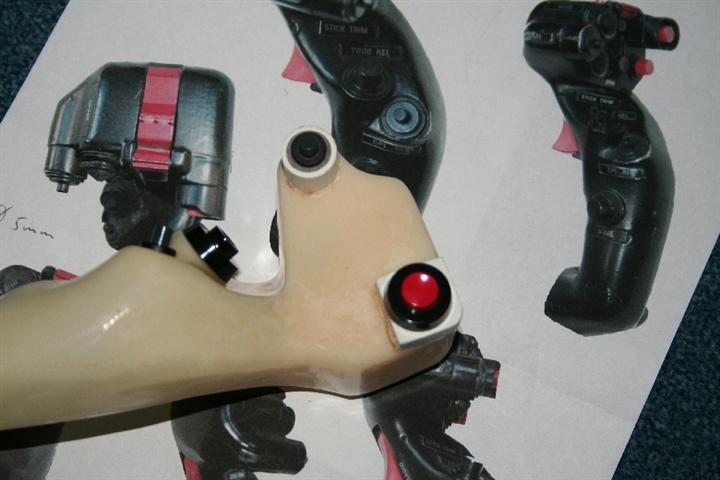
After a bit of thinking I found a cheap and easy way to add the top left and right switch to the grip without using machinery. Just a bit of standard commercial plastic handled with a saw and a file, glued with two component glue to the grip. No need for a turning tool or other expensive machinery sofar.
2006-10-12
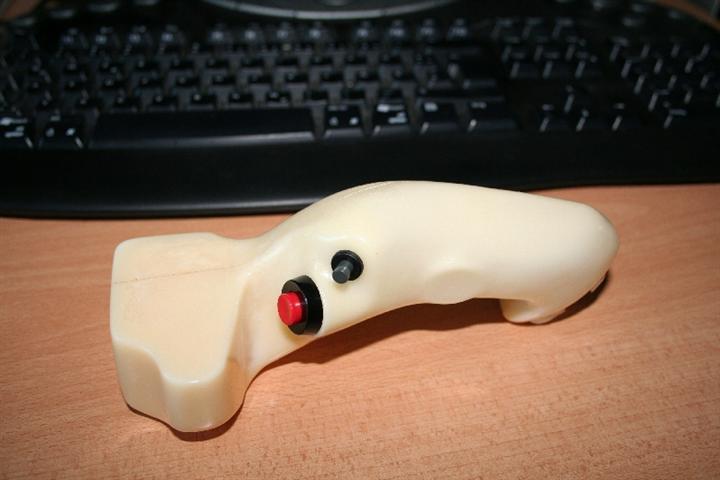
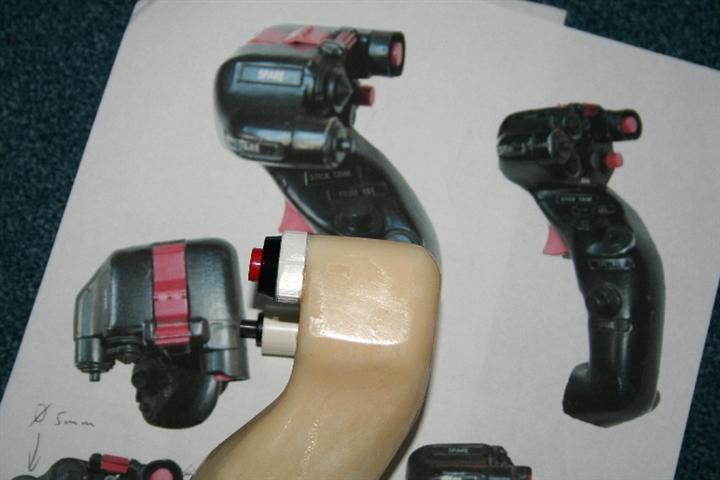
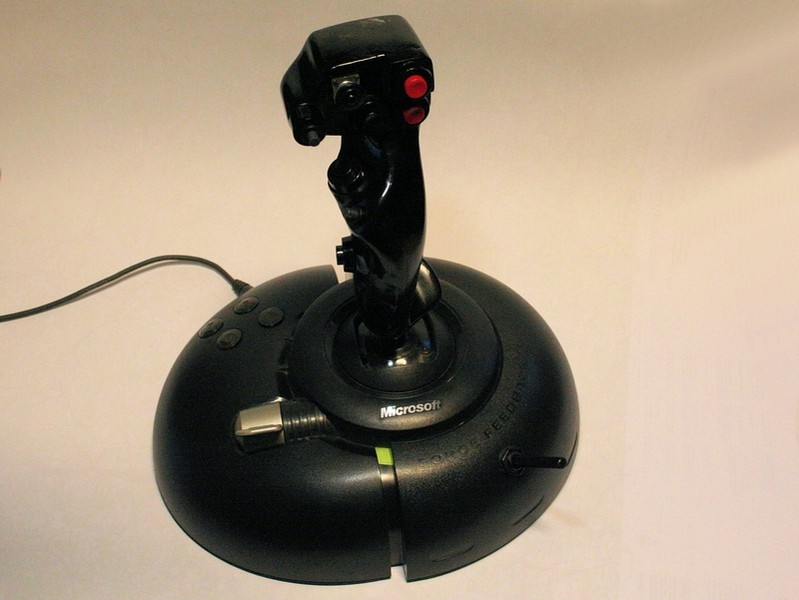
All the switches are on their place. Only one hole is missing - the mounting hole. Therefor I need to reassamble my MS Force Feedback 2.
2006-10-13
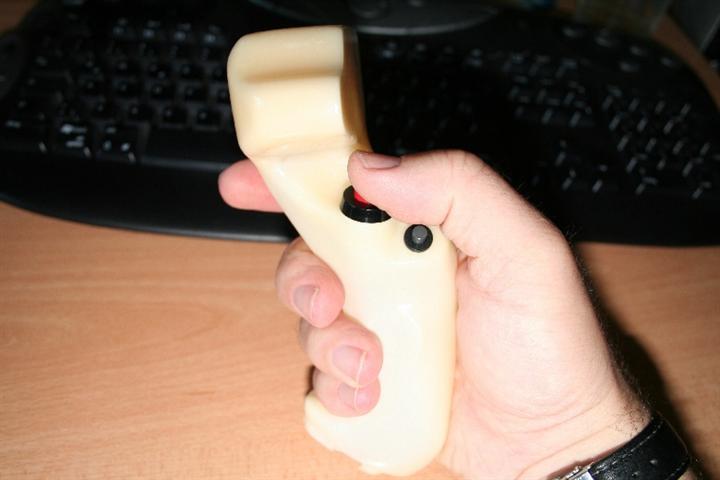
Well, looks good to me. I now have to work on my joystick before I start with the wiring. Stay tuned...
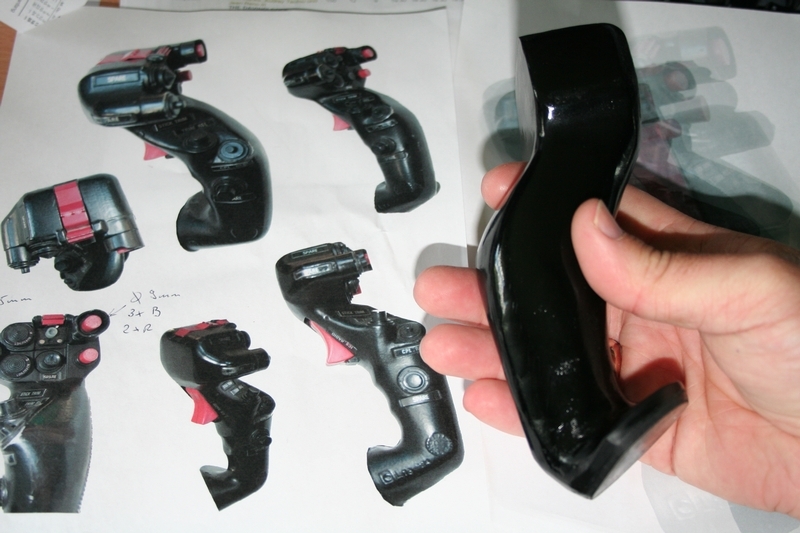
I think that if you want to have your own grip of your favorite helicopter take the pictures and ask a pilot near you if you can make some pictures and a mold using this easy technique.
2006-10-15
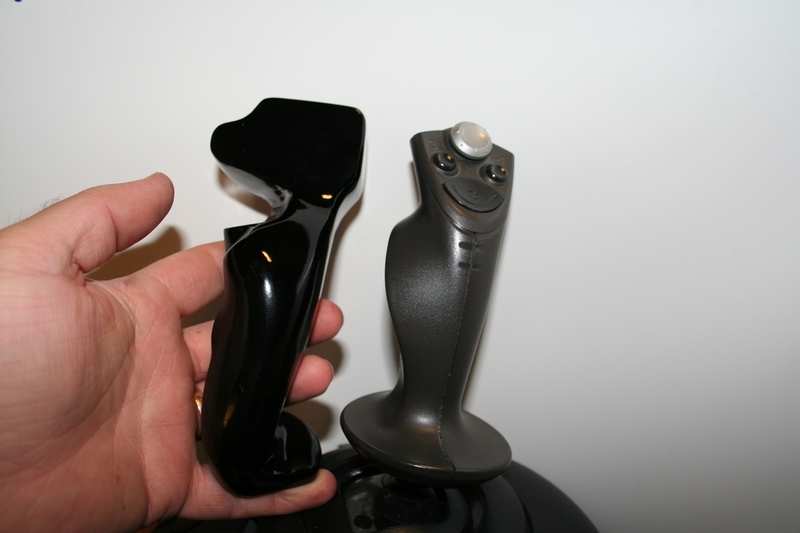
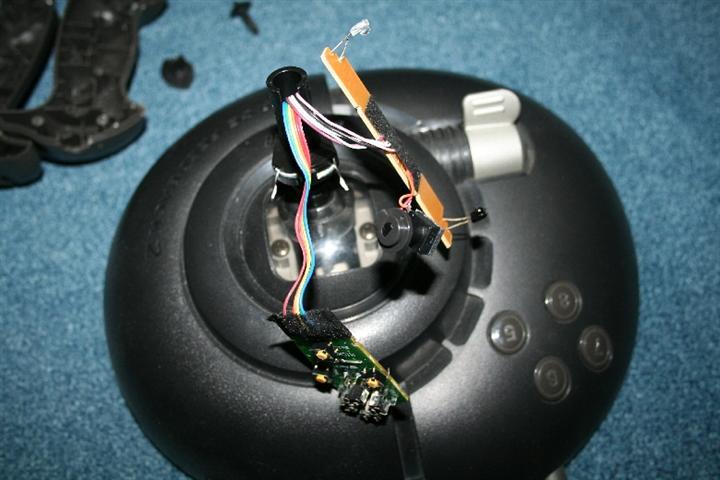
Yesterday I removed the grip from my FFB2, pretty easy as the parts are assembled with screws.
There is a little drawback as I can not use the rudder axis in the grip anymore. I will mount the poti somewhere else later on.
After drilling a suitable hole I could mount the new grip to the FFB2.
Only the wiring is left now.
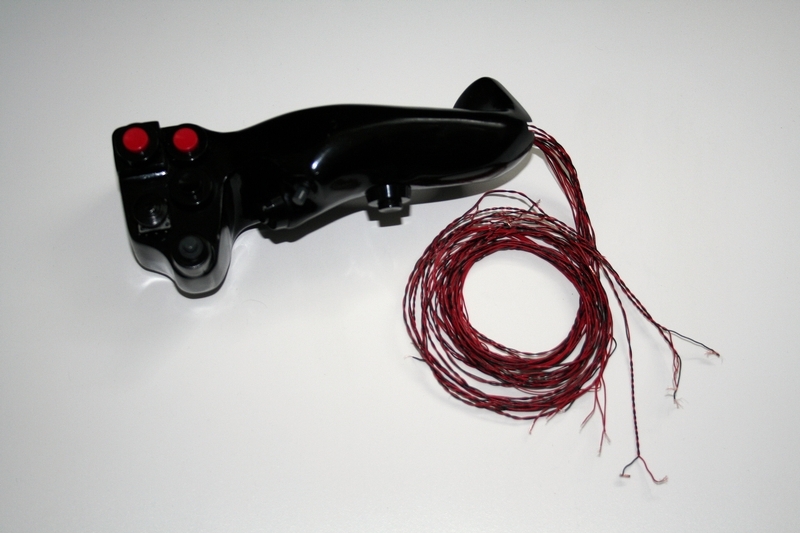
2007-05-17
Today I started with the wirring of the grip. It worked out fine so that I soldered the switches to the wires as well. Then I attached the grip to the housing. After that I had to solder the wires to the original joystick. I also added a poti so that the original z axis is not wasted. Everything works fine sofar. All buttons are working and I'm looking for some key assigments now.
For the extra poti I need a knob.
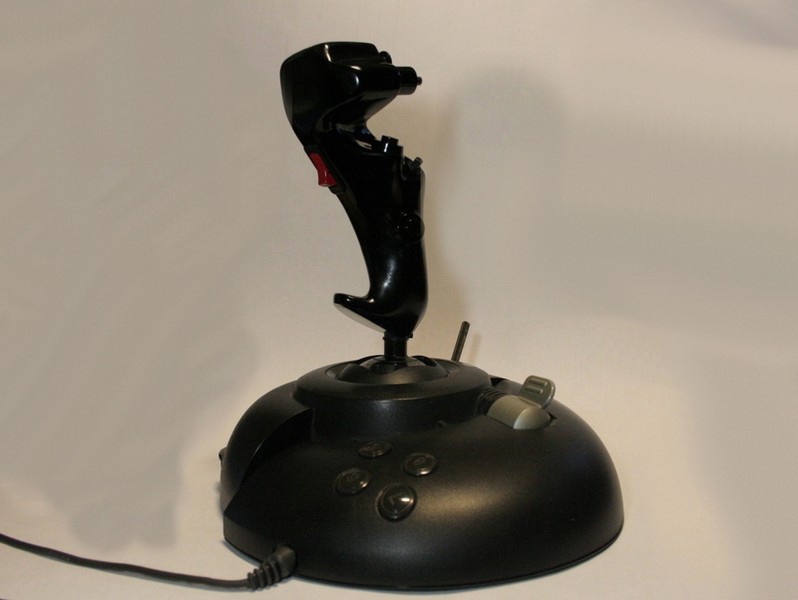
I will now test my new joystick.
2007-05-26
What would I do different next time?
- I would use smaller switches.
- Less resin to save weight.
To be continued............